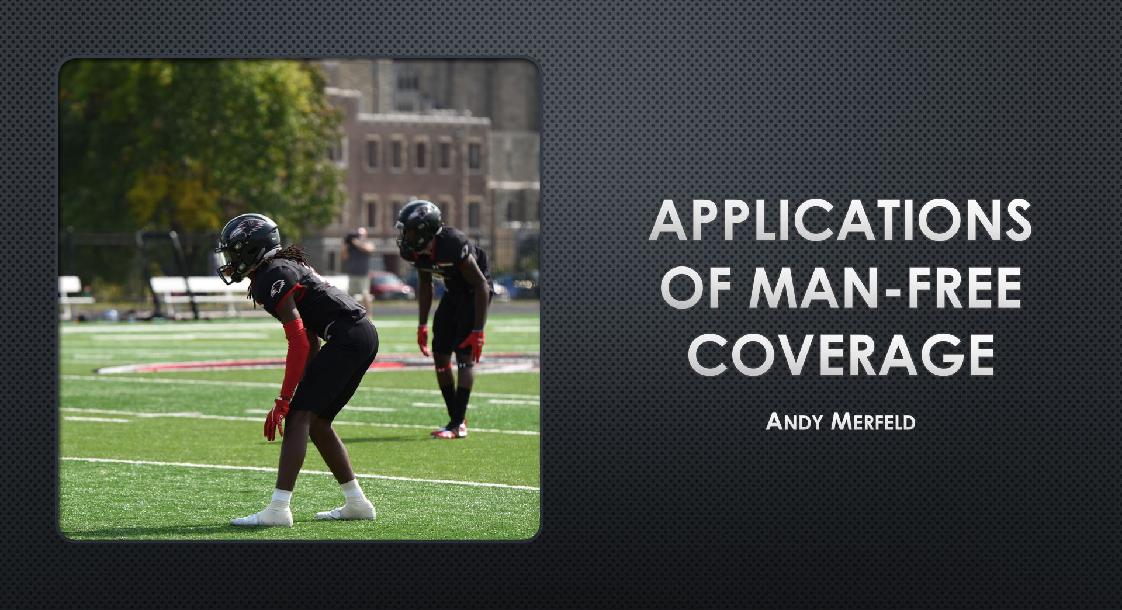
AndyMerfeld
Applications of Man-Free Coverage (Cover 1)
  • Share on Facebook
  • Share on Twitter
Coachtube
Previous
Now Playing: Base 1 Key - Even Spacing Examples
Next
  • 1

    Introduction
  • 2

    Man-Free Coverage Rotations Overview
  • 3

    Sub 1 Invert
  • 4

    Sub/Base 1 Key
  • 5

    Base 1 Alert
  • 6

    Base 1 Tight
  • 7

    Sub 1 Buck
  • 8

    Rotations Review and Chart
  • 9

    Game-Planning vs. 11 & 20 Personnel
  • 10

    Game-Planning vs. 12 & 21 Personnel
  • 11

    Run Fit Systems Overview
  • 12

    Middle of the Field Closed Run Fits
  • 13

    Even Spacing Run Fits Overview
  • 14

    Core Hit Chart
  • 15

    Setting the Front and Double-Rotating
  • 16

    Sub 1 Invert - Even Spacing Examples
  • 17

    Sub 1 Key - Even Spacing Examples
  • Lesson 18:
    Base 1 Key - Even Spacing Examples

  • 19

    Base 1 Alert - Even Spacing Examples
  • 20

    Base 1 Alert - Even Spacing Examples, Part 2
  • 21

    Base 1 Tight - Even Spacing Examples
  • 22

    Odd Spacing Run Fits Overview
  • 23

    Sub 1 Invert - Odd Spacing
  • 24

    Base 1 Alert - Odd Spacing Examples
  • 25

    Base 1 Key - Odd Spacing Examples
  • 26

    Base 1 Alert - Odd Spacing vs. 21 Personnel
  • 27

    Man-Free Pressures
  • 28

    Simulated Pressures: Sub Belly 1 Rat
  • 29

    5-Man Sub Pressures: Odd Front
  • 30

    5-Man Sub Pressures: Even Front
  • 31

    5-Man Sub Pressures: Nickel Blitz
  • 32

    5-Man Base Pressures: Cover 10 Alert
  • 33

    5-Man Base Pressures: Cover 10 Key
  • 34

    6-Man Sub Peel Pressures
  • 35

    Man-Free Formation Adjustments: Empty, Formation into Boundary
  • 36

    Split Adjustment: Lock and Levels
  • 37

    Split Adjustment: "Inside-Outside" (No Rat)
  • 38

    Split Adjustment: "Traffic" vs. 3-Man Bunch (No Rat)
  • 39

    Split Adjustment: Stacked Receivers
  • 40

    Split Adjustment: "Point" vs. Stacked Receivers
  • 41

    Split Adjustment: "Tail" vs. Stacked Receivers
  • 42

    Split Adjustment: "Tail" vs. Screen / Screen & Go
  • 43

    Split Adjustments: "Point" / "Tail" in Cover 10 (No Rat)
  • 44

    Man-Free Motion Adjustments
  • 45

    Conclusion
  • 46

    Man-Free Coverage Presentation
  • 47

    Man-Free Coverage Presentation

Invite friends to view this course

Invite sent successfully!

Login

Forgot Your Password?

Don't have an account ? Sign Up

Sign up for a free account

Already have an account ? Login

Applications of Man-Free Coverage (Cover 1)

Playing great defense always starts with defending the middle of the field. In the modern game, defenses need to be sound against the RPO game on early downs while still being able to play tight coverage to get off the field on third downs. They need to be able to bring pressure without selling out, and they are still limited in terms of teaching and practice time. What if there was a coverage ...

Book It for 24,99 $

Congratulations!

You just booked "Applications of Man-Free Coverage (Cover 1)"

Ready to get started?

Congratulations!

You completed "Applications of Man-Free Coverage (Cover 1)"

Congratulations!

But you still need to watch Video to get the Credit.
Please navigate back and watch the video lessons you skipped to the end.