HowToPlayHockey
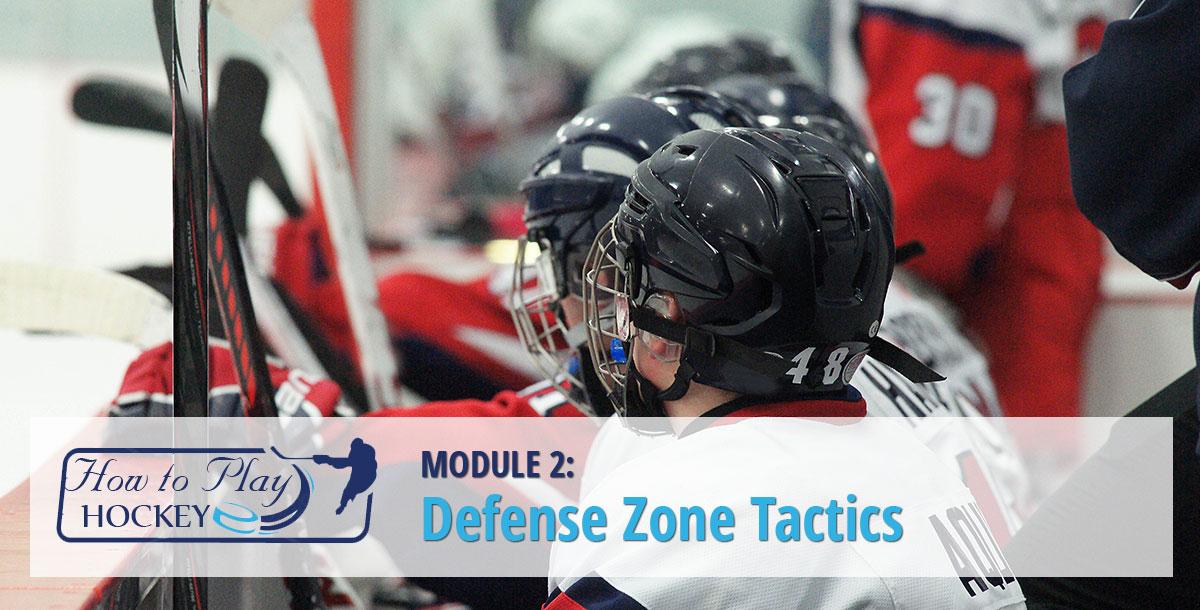
How to Play Hockey Module 2: Defensive Zone Tactics
  • Share on Facebook
  • Share on Twitter
Coachtube
Previous
Now Playing: 2.2.8: Backchecking
Next
  • Chapter 1: Module 2: Defense
  • 1

    Module 2 Outline
  • Chapter 2: Module 2.1: Defensive Pressure
  • 2

    2.1.1: Steering, Angling, Tracking
  • 3

    2.1.2: Gap Control
  • 4

    2.1.3: Holding the Line
  • 5

    2.1.4: Close Coverage, Closing Gap, Commit, Contain
  • 6

    2.1.5: Forcing to the Outside
  • 7

    2.1.6: Inside Out
  • Chapter 3: Module 2.2: Defensive Coverage
  • 8

    2.2.1: Balanced Defence
  • 9

    2.2.2: Defensive Zone Coverage
  • 10

    2.2.3: Advanced Defensive Zone Coverage
  • 11

    2.2.4: Defensive Controlled Skating
  • 12

    2.2.5: Defensive Side positioning
  • 13

    2.2.6: Man to Man Coverage
  • 14

    2.2.7: Switching
  • Lesson 15:
    2.2.8: Backchecking

     view description
    • Having a relentless backcheck can be a critical foundation to your team’s philosophy. Applying backside pressure to the opponents attack takes pressure off of your defensemen and enables them to be more aggressive in stalling the offensive team and puts you in a better position to counter attack.
  • 16

    2.2.9: Skill Tip: How to Take a Faceoff
  • Chapter 4: Module 2.3: Breakouts
  • 17

    2.3.1: Breakout Overview
  • 18

    2.3.2: Breakouts: All Positions D-Zone Puck Possession Responsibilities
  • 19

    2.3.3: Breakout: Quick Up
  • 20

    2.3.4: Breakout: Rim Pass
  • 21

    2.3.5: Skill Tip: How to Receive a Rim Pass
  • 22

    2.3.6: Breakout: Wheel
  • 23

    2.3.7: Skill Tip: Defensive Escape: Hang ‘Em on the Post
  • 24

    2.3.8: Breakout: Three Quarter Round
  • 25

    2.3.9: Breakout: Reverse
  • 26

    2.3.10: Breakout: D toD, Over, Partner
  • 27

    2.3.11: Breakout: Controlled, Power Play

Invite friends to view this course

Invite sent successfully!

Login

Forgot Your Password?

Don't have an account ? Sign Up

Sign up for a free account

Already have an account ? Login

How to Play Hockey Module 2: Defensive Zone Tactics

Module 2: Defensive Zone. This module starts with defensive zone fundamentals. We explore the zone without the puck, and then with puck possession. The breakout section is quite extensive, and gets a lot of traffic. Defensive zone tactics can have subtle variations at higher levels but all systems have common principles. We’ll stick to the key concepts, but explore them in detail in some of the...

Book It for 19,99 $

Congratulations!

You just booked "How to Play Hockey Module 2: Defensive Zone Tactics"

Ready to get started?

Congratulations!

You completed "How to Play Hockey Module 2: Defensive Zone Tactics"

Congratulations!

But you still need to watch Video to get the Credit.
Please navigate back and watch the video lessons you skipped to the end.