JohnLoose
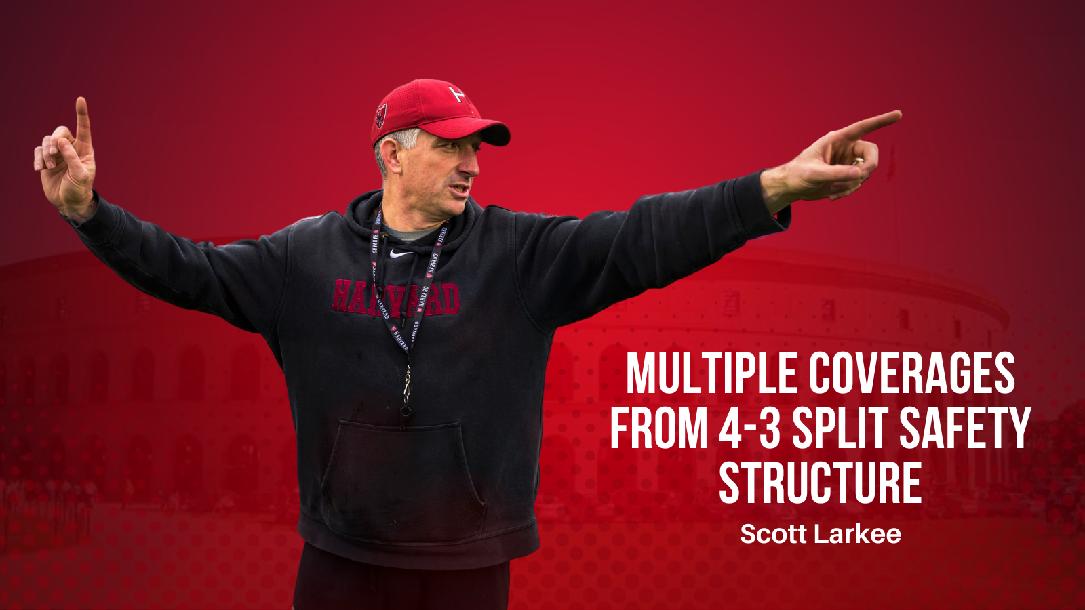
Multiple Coverages from 4-3 Split Safety Structure
  • Share on Facebook
  • Share on Twitter
Coachtube
Previous
Now Playing: Man Free: Boundary Pressure
Next
  • Chapter 1: Introduction
  • 1

    Intro to Coverages from 4-3
  • Chapter 2: Quarters
  • 2

    Base Alignment
  • 3

    4 Under 3
  • 4

    Cut Linebacker
  • 5

    Boundary Safety Run Help
  • 6

    vs the RPO
  • 7

    Loose vs Locked
  • 8

    RB to Boundary
  • 9

    RB to Field
  • 10

    Mike Drop
  • Chapter 3: Man
  • 11

    Man Free
  • 12

    Man Free: Boundary & Field
  • 13

    Man Free: Field Pressure
  • Lesson 14:
    Man Free: Boundary Pressure

  • Chapter 4: Other
  • 15

    Zone Pressure
  • 16

    3x1 Attached
  • 17

    3x1 Attached cont'd
  • 18

    3x1 Detached
  • 19

    3x1 Detached cont'd

Invite friends to view this course

Invite sent successfully!

Login

Forgot Your Password?

Don't have an account ? Sign Up

Sign up for a free account

Already have an account ? Login

Multiple Coverages from 4-3 Split Safety Structure

In this course, Coach Scott Larkee talks about using multiple coverages from a 4-3 split safety structure. The coach gives a depth breakdown of quarters, as well as man, zone pressures, and 3x1. Simply click the ‘Book This Course’ button at the top right of this page, place your order, and you’ll immediately be logged into the training with full access. Learn how Coach Larkee uses multiple cove...

Book It for 19,99 $

Congratulations!

You just booked "Multiple Coverages from 4-3 Split Safety Structure"

Ready to get started?

Congratulations!

You completed "Multiple Coverages from 4-3 Split Safety Structure"

Congratulations!

But you still need to watch Video to get the Credit.
Please navigate back and watch the video lessons you skipped to the end.