JohnLoose
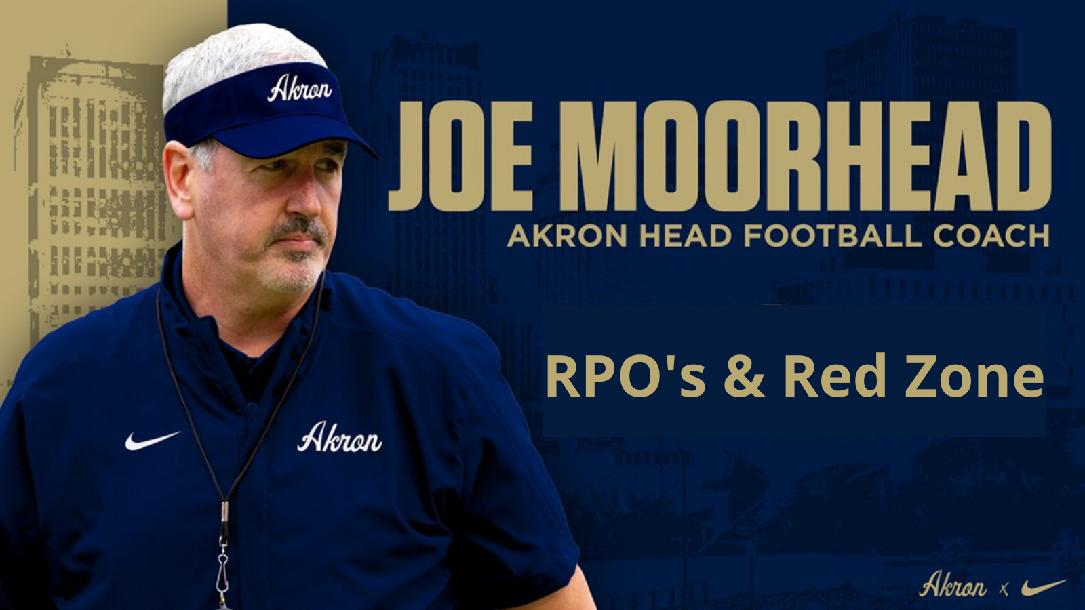
Joe Moorhead - RPO`s & Red Zone Offense
  • Share on Facebook
  • Share on Twitter
Coachtube
Now Playing: Introduction
Next
  • Lesson 1:
    Introduction

  • Chapter 1: Red Zone Game Planning Process
  • 2

    Coach Moorhead Red Zone History
  • 3

    Red Zone Field Zones
  • Chapter 2: RPO Introduction
  • 4

    Definition of an RPO
  • 5

    Occam's Razor Theory
  • Chapter 3: Gap Scheme - Mike Isolation RPO's
  • 6

    Introduction to Gap Scheme RPO's
  • 7

    QB Draw - Swing (Access Throw)
  • 8

    QB Lead Draw - RB Bluff
  • 9

    QB Draw - RB Swing
  • 10

    QB Lead Draw Protected - Stick
  • 11

    QB Draw - Swing (Nub TE)
  • 12

    QB Lead Draw Protected - Snag
  • 13

    Empty QB Power Sucker - Swing
  • 14

    QB Pin & Pull - Swing
  • 15

    QB Lead Draw - Double Smash
  • 16

    Edge Pressure Example
  • 17

    QB Power Sucker - Swing
  • 18

    Split Back QB Lead Draw - Swing
  • 19

    QB Power Sucker - RB Bluff
  • 20

    Power Sucker Shovel - Perimeter Rub Concept
  • Chapter 4: Inside Zone Triple Option RPO's
  • 21

    Introduction - Give Read
  • 22

    Split Flow IZ - Pull Read
  • 23

    Split Flow IZ - Throw Read
  • 24

    IZ with Orbit Motion - Pull Read
  • 25

    Split Back IZ - Pull Read
  • 26

    TE Arc IZ - Give Read
  • 27

    TE Flat IZ - Give Read
  • 28

    TE Flat IZ - Pull Read
  • 29

    TE Flat IZ - Throw Read
  • 30

    TE Bluff IZ - Throw Read
  • 31

    Zone TE Corner - Give Read
  • 32

    Zone TE Corner - Pull Read
  • 33

    Zone TE Corner - Throw Read
  • 34

    Speed Option
  • 35

    Power Sucker Triple
  • Chapter 5: 6 for 6 2nd/3rd Level RPO Glances
  • 36

    Introduction, Tackle Wrap with O/S Glance - Give Read
  • 37

    Split Zone with O/S Glance - Throw Read
  • 38

    Power Sucker with O/S Glance - Throw Read
  • 39

    Same Side IZ with Slot Glance - Throw Read
  • 40

    Split Zone with Slot Glance - Throw Read
  • 41

    Tackle Wrap with Slot Fade - Throw Read
  • Chapter 6: Goal Line Base Runs & RPO Compliments
  • 42

    Introduction to Goal Line
  • 43

    QB Power vs Double Edge Pressure
  • 44

    QB Power with TE Flat - Throw Read
  • 45

    QB Power with TE Flat - Keep Read
  • 46

    QB Power with RB Flat - Keep Read
  • 47

    QB Pin & Pull with RB Block
  • 48

    QB Pin & Pull with RB Bluff - Throw Read
  • Chapter 7: Question & Answer
  • 49

    Q&A - QB call to alert post snap RPO
  • 50

    Q&A - Glance Landmarks
  • 51

    Q&A - RPO Mesh Point
  • 52

    Q&A - How to read the Slot Glance
  • 53

    Q&A - Glance Route Coaching Points
  • 54

    Q&A - Use of the Pistol
  • 55

    Q&A - Use of Dart
  • 56

    Q&A - TE Responsibilities
  • 57

    Q&A - QB Coaching Points in Power Sucker with RB Bluff
  • 58

    Q&A - RB Bluff Scheme
  • 59

    Q&A - Evolution of Defenses Affecting the RPO Game

Invite friends to view this course

Invite sent successfully!

Login

Forgot Your Password?

Don't have an account ? Sign Up

Sign up for a free account

Already have an account ? Login

Joe Moorhead - RPO`s & Red Zone Offense

Coach Moorhead covers topics concerning Oregon's RPO game with both Gap Scheme and Zone Scheme runs. He also discusses both Red Zone and Goal Line offense. The clinic concludes with a recorded Q&A section. Proceeds from the purchase of this course benefit Lauren's First & Goal Foundation.

Book It for $19.95

Congratulations!

You just booked "Joe Moorhead - RPO`s & Red Zone Offense"

Ready to get started?

Congratulations!

You completed "Joe Moorhead - RPO`s & Red Zone Offense"

Congratulations!

But you still need to watch Video to get the Credit.
Please navigate back and watch the video lessons you skipped to the end.